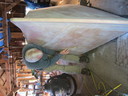
130903_0928.jpg
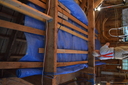
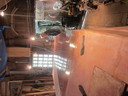
Edna Bay, BC - 2013
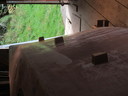
Tarp is to make a "clean room"
130903_0929.jpg
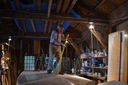
Edna Bay, BC - 2013
Cleaning the clean room
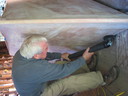
130903_0932.jpg
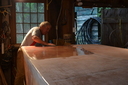
Edna Bay, BC - 2013
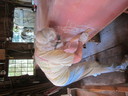
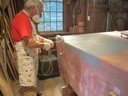
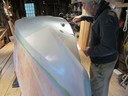
Washing an area we epoxied yesterday
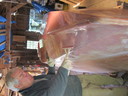
130903_1334.jpg
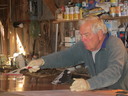
Edna Bay, BC - 2013
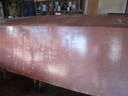
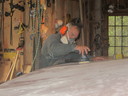
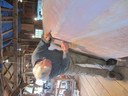
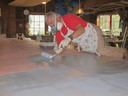
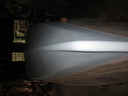
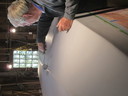
Squeeging a layer of final epoxy finish
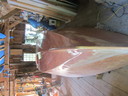
130903_1336.jpg
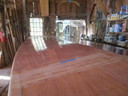
Edna Bay, BC - 2013
Final epoxy coat looks good
130904_1337.jpg
Edna Bay, BC - 2013
Not perfect but not bad
130908_1341.jpg
Edna Bay, BC - 2013
Enough sanding - okay?
130909_1344.jpg
Edna Bay, BC - 2013
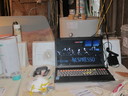
Trying the Vidal Sasoon hair dryer to see
if it will make the epoxy flow. It didn't.
130909_1346.jpg
Edna Bay, BC - 2013
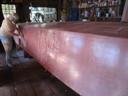
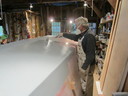
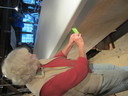
Using a squeegee to spread a smooth,
even coat of epoxy/sanding filler.
130909_1348.jpg
Edna Bay, BC - 2013
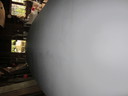
Happy day! The bottom is entirely coated.
130912_1360.jpg
Edna Bay, BC - 2013
Peter taking off bumps with a sanding board
130912_1362.jpg
Edna Bay, BC - 2013
Vacuuming fine sanding dust in
preparation for applying filler coat
130913_1367.jpg
Edna Bay, BC - 2013
We made a mess of applying the filler coat
probably due to the increase in temperature
during the day. This means lots of sanding.
130913_1363.jpg
Edna Bay, BC - 2013
Martha flat sanding our poor epoxy job
130913_1366.jpg
Edna Bay, BC - 2013
Martha flat sanding our poor epoxy job ...
130914_1369.jpg
Edna Bay, BC - 2013
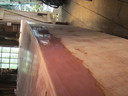
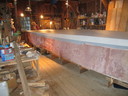
We decided to fill only to the water line
plus 3 inches. Then we can get on with
the job of painting the bottom. Next
year we will tackle the rest of the hull.
130916_1383.jpg
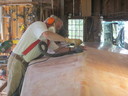
Edna Bay, BC - 2013
Working forward with 60 grit

130916_1386.jpg
Edna Bay, BC - 2013
The family that sands together ...
130916_1389.jpg
Edna Bay, BC - 2013
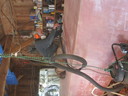
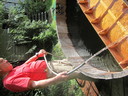
This rig is to keep the vac
hose from catching on everything
130916_1390.jpg
Edna Bay, BC - 2013
Finishing with 100 grit

130919_1400.jpg
Edna Bay, BC - 2013
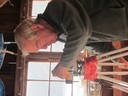
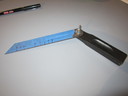
Setting up the level to "shoot" the water line
130919_1402.jpg
Edna Bay, BC - 2013
Leveling the level
130919_1404.jpg
Edna Bay, BC - 2013
Blocks at a fixed elevation give us a
reference to the water line
130919_1405.jpg
Edna Bay, BC - 2013
Measuring to the bottom primer paint line
130919_1407.jpg
Edna Bay, BC - 2013
We tried to fill the 1/5 scale model with
a scale load of water. Didn't work.
Don't know why.
130919_1409.jpg
Edna Bay, BC - 2013
The model with its scale load sits much
too low
130919_1411.jpg
Edna Bay, BC - 2013
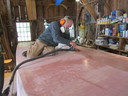
Applying bottom paint primer
130919_1412.jpg
Edna Bay, BC - 2013
Priming the bottom

130919_1419.jpg
Edna Bay, BC - 2013
Over half done with primer coat one of two
130920_1421.jpg
Edna Bay, BC - 2013
Nearing the end of first primer coat
130921_1423.jpg
Edna Bay, BC - 2013
Two primer coats complete -
next comes antifouling paint
130921_1424.jpg
Edna Bay, BC - 2013
Bow view - the stem looks like
a bulbose nose
130922_1426.jpg
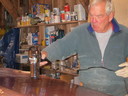
Edna Bay, BC - 2013
Watching the America's Cup while boat building

130922_1427.jpg
Edna Bay, BC - 2013
Ocean side water line taped -
other side tomorrow
130923_1429.jpg
Edna Bay, BC - 2013
Device to transfer waterline from one side
to the other
130924_1454.jpg
Edna Bay, BC - 2013
Starting first coat of bottom paint

130924_1458.jpg
Edna Bay, BC - 2013
Peter rolling on paint, Martha tipping
130925_1461.jpg
Edna Bay, BC - 2013
Painting second (final) coat of Interlux
Micron CSC antifouling paint
130925_1463.jpg
Edna Bay, BC - 2013
Martha removing waterline tape
130925_1464.jpg
Edna Bay, BC - 2013
Bottom painted